Section 3: Setting up Node.js and SvelteKit
Node.js
Node.js is a program used to run JavaScript code on servers and computers instead of just in the browser.
For headless WordPress projects, Node.js powers modern frontend frameworks like React and SvelteKit
It handles the development server, build process, and all the tools needed in your project
Installing Node.js
Download Node.js from this link and install it on your system
This will also install npm (Node Package Manager), which you'll use to create and manage your SvelteKit project
Open your IDE, and run this command
node -vin your terminal to confirm the version of node Node.js. installed
SvelteKit
SvelteKit is a full-stack framework used to build modern web apps. We’ll be using it to build our front end application in this tutorial.
This tutorial uses the SvelteKit framework because it aligns with the main benefits of a headless architecture:
Fast performance:
SvelteKit turns your code into very small, efficient JavaScript, so pages load quickly and work well even on slower devices.
This is great for WordPress sites because it makes sure your content appears fast, even if the backend takes a little time to respond.
Flexibility and Customizable:
SvelteKit lets you organize pages, layouts, and styles however you want.
You can match your WordPress content easily change designs without being stuck in a rigid structure.
Long term maintainability:
SvelteKit is beginner friendly and has fewer moving parts, so it’s easier to read, fix, and update your code over time.
This means your site can grow and change without becoming messy or hard to manage.
Initialize SvelteKit
Create a folder in your system for the project and open it in your IDE
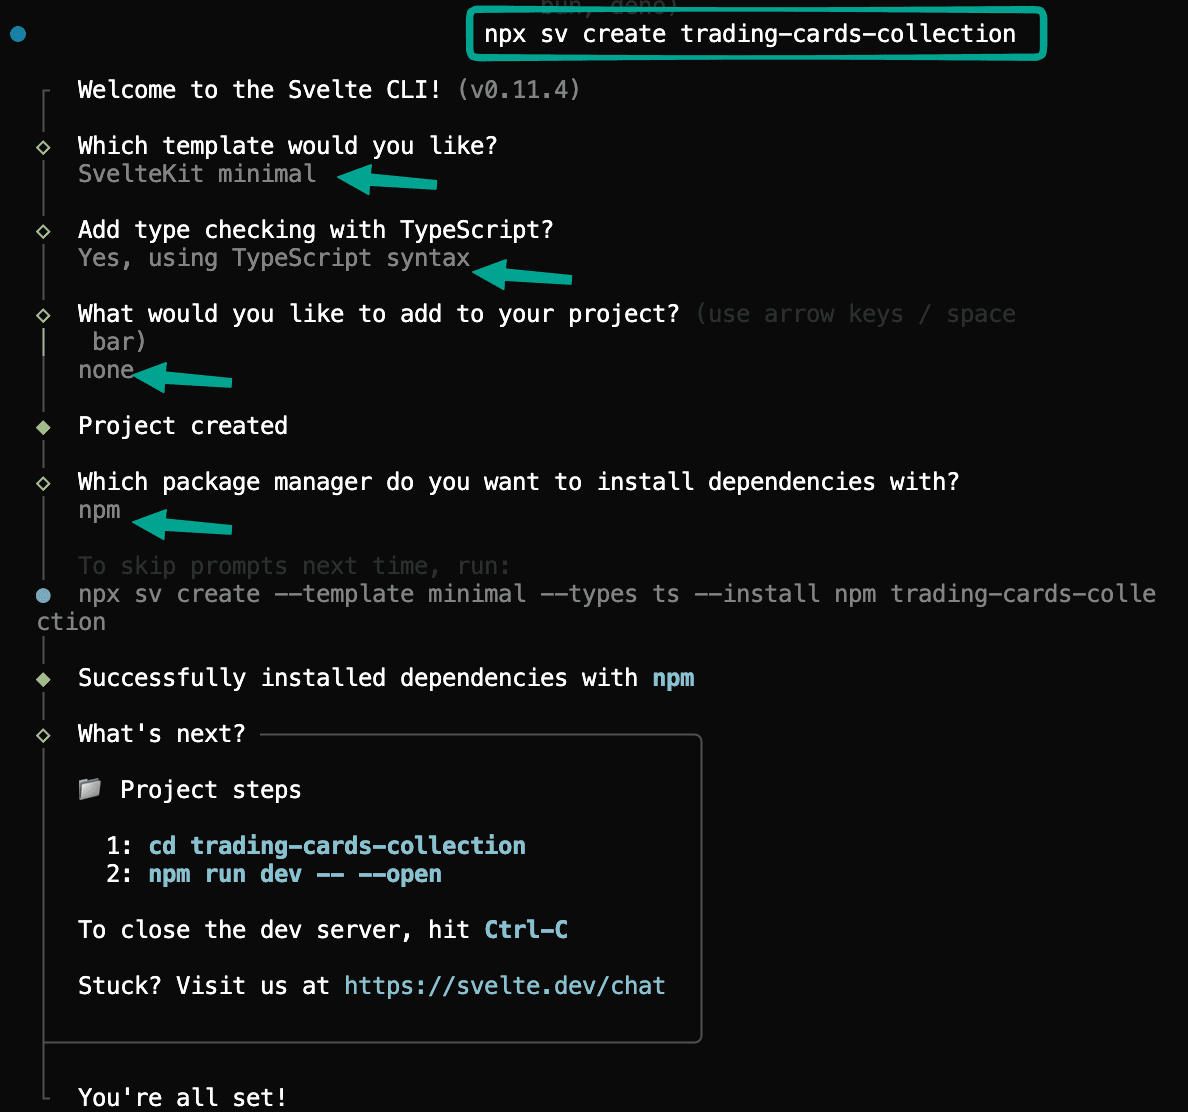
In your terminal run:
This command creates a new SvelteKit project.
c. Select these options from the prompts:
Install Dependencies and Run Server
Run these commands one at a time in your terminal to navigate to your project and install your dependencies.
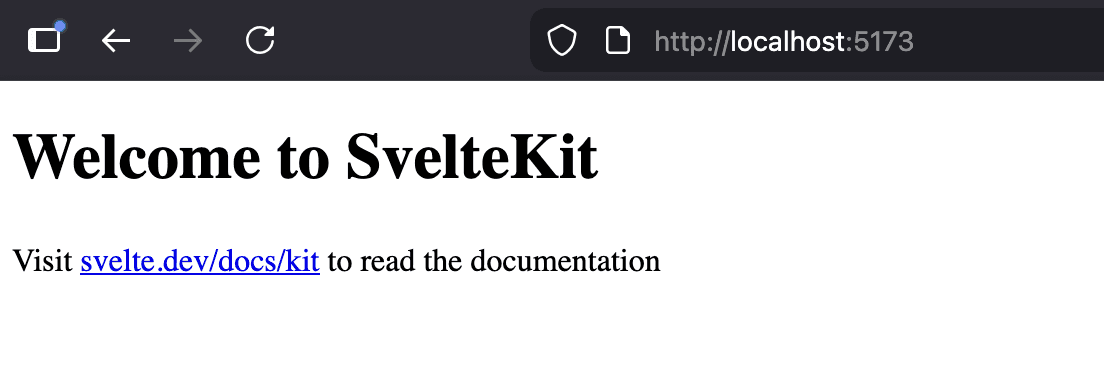
Your SvelteKit app should be running at http://localhost:5173